We often have doubts regarding carrier frequency when we use a PLCC device. We know that PLCC operates at a particular frequency, and at that frequency it transmits signals from one end to the other. If you test a PLCC system, you may notice that during checking, we also need to add a pilot frequency along with the main frequency to measure the signal level.
The pilot frequency is used for sending signals from both ends. So, for checking the sending and receiving signals, we always add the pilot frequency to measure the level.
Following are the reasons we use pilot frequency in PLCC:
i. By using the pilot frequency, we can monitor the entire communication path from one end to the other. It is mainly used to monitor the health of the PLCC system. It also helps in troubleshooting when any discrepancy is observed in the communication medium.
ii. It helps to synchronize the system for generating alarms or events during any discrepancy.
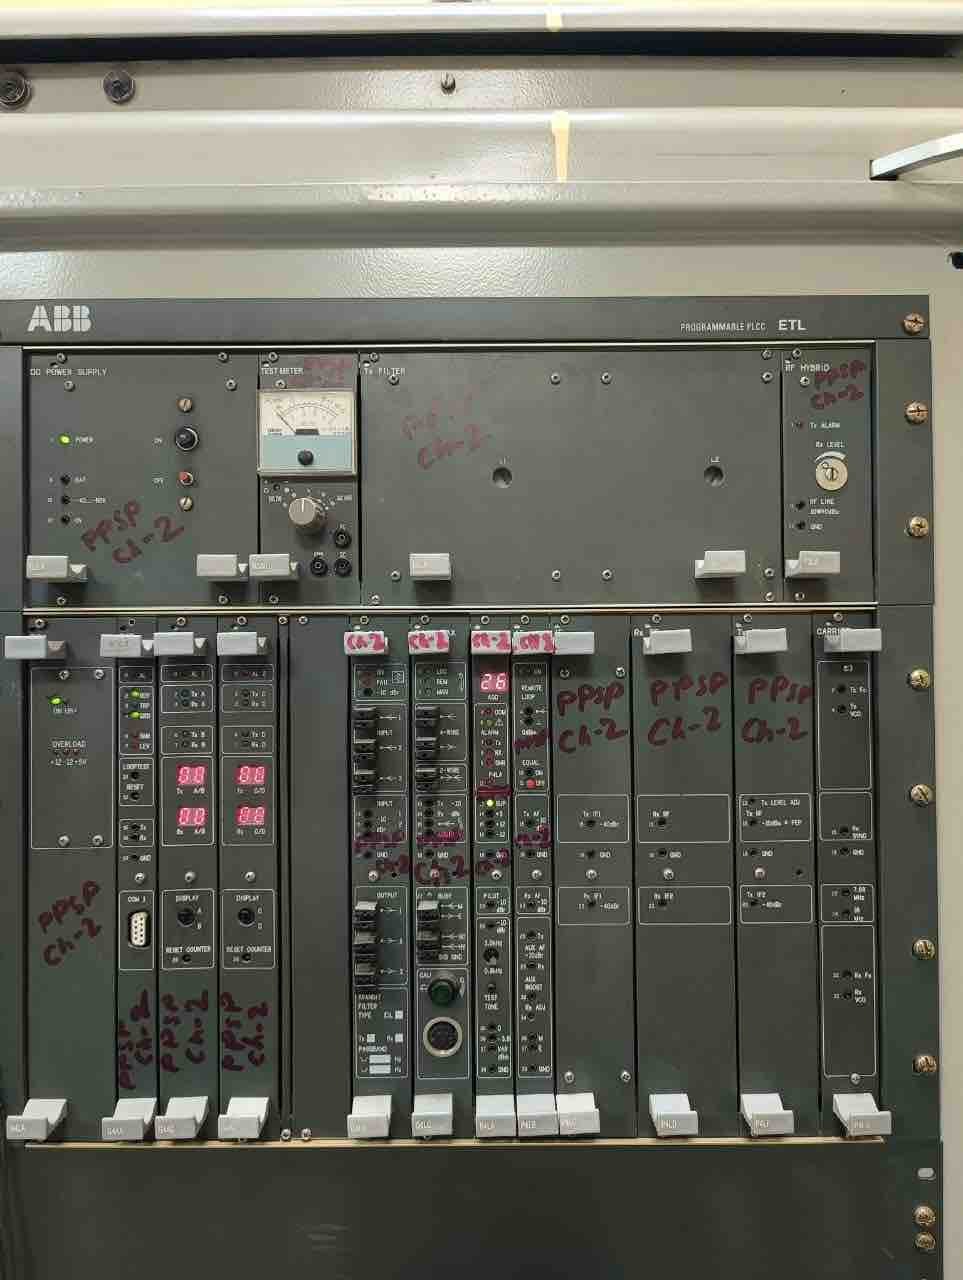
What is the value of pilot frequency?
The value of the pilot frequency is generally 3.75 kHz. However, it is not a fixed value; it depends on the PLCC manufacturer.
How do we use pilot frequency for PLCC level checking?
For checking the PLCC signal level, you need a level meter. You should also know the set frequencies of the sending and receiving signals.
Suppose your sending frequency is 345 kHz and your receiving frequency is 373 kHz. In this case:
- For checking the sending level, you need to set the frequency to:
(345 kHz + 3.75 kHz) = 348.75 kHz - For checking the receiving level, you need to set the frequency to:
(373 kHz + 3.75 kHz) = 376.75 kHz
In general, the sending signal level is set from +1 dBm to +10 dBm at both ends. Based on the line length and transmission losses, the receiving signal level is typically around -10 dBm to -20 dBm.